Step 2: Create User Groups and Assign Users
Adobe Experience Manager (AEM) is a comprehensive content management solution for building websites, mobile apps, and forms. It’s designed to help organizations manage their marketing content and assets. In AEM, creating user roles (known as “groups” in AEM) and users, and then assigning those users to the respective roles involves a few specific steps. Let’s go through how to accomplish this in AEM.
Step 1: Create User Groups (Roles)
In AEM, user roles are essentially groups that you assign users to. These groups define the permissions for users within the group.
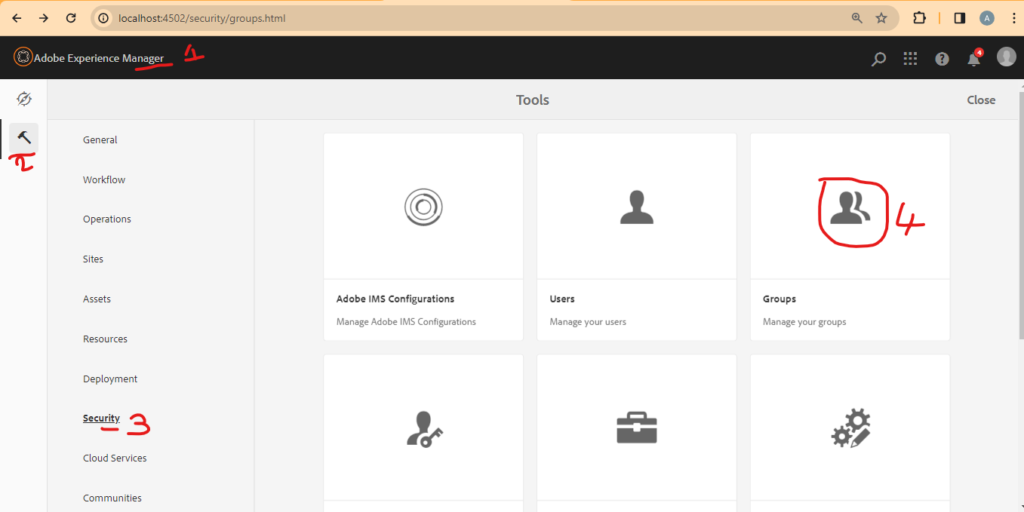
Open the AEM User Admin Console: Navigate to the AEM start screen and open the Tools console. From there, go to the Security section and select Groups.
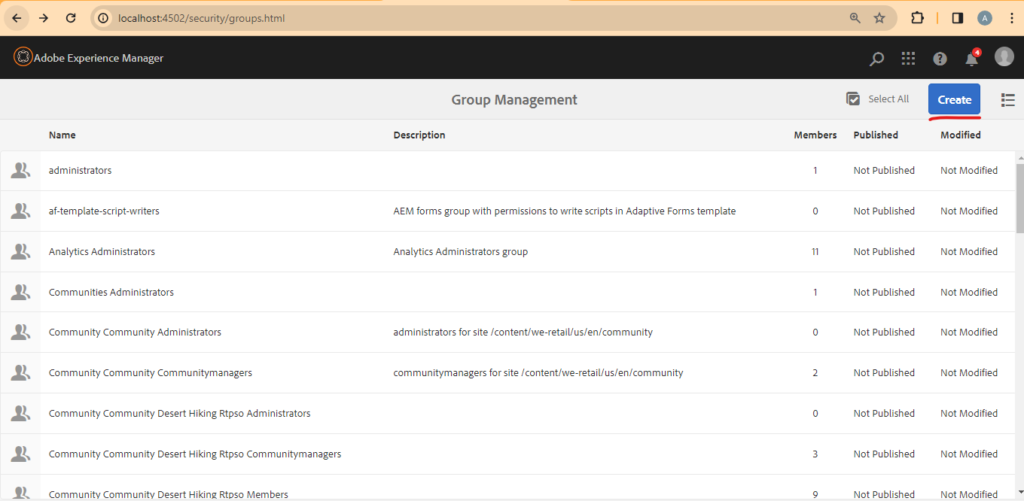
Create a New Group: Click on the “Create Group” button. Enter a Title for your group, such as “Authors” for your author role and “Reviewers” for your reviewer role. You can also provide a unique ID for the group. Save the group.
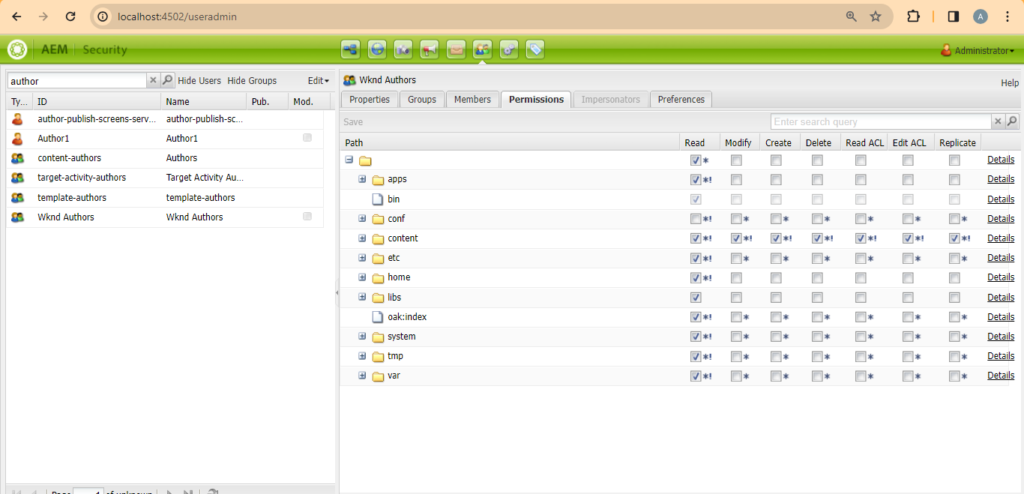
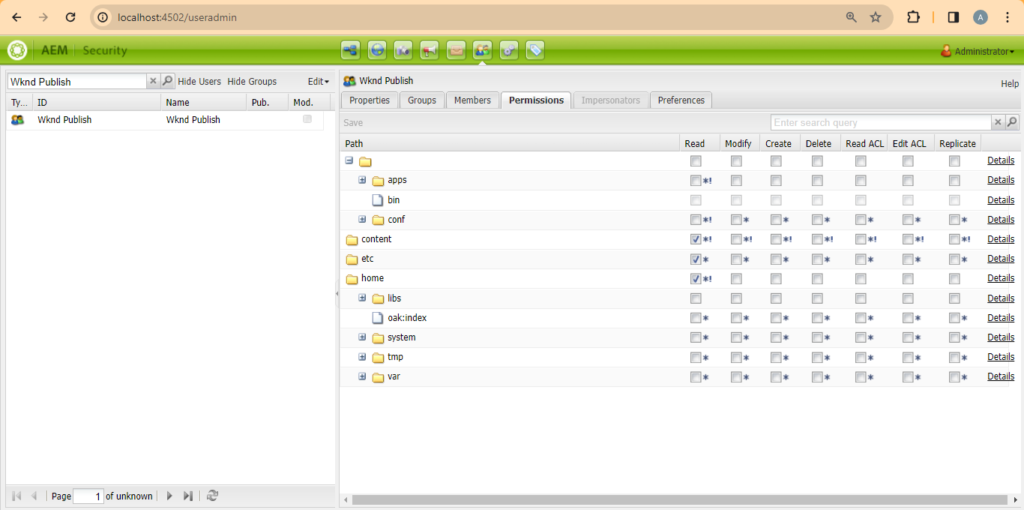
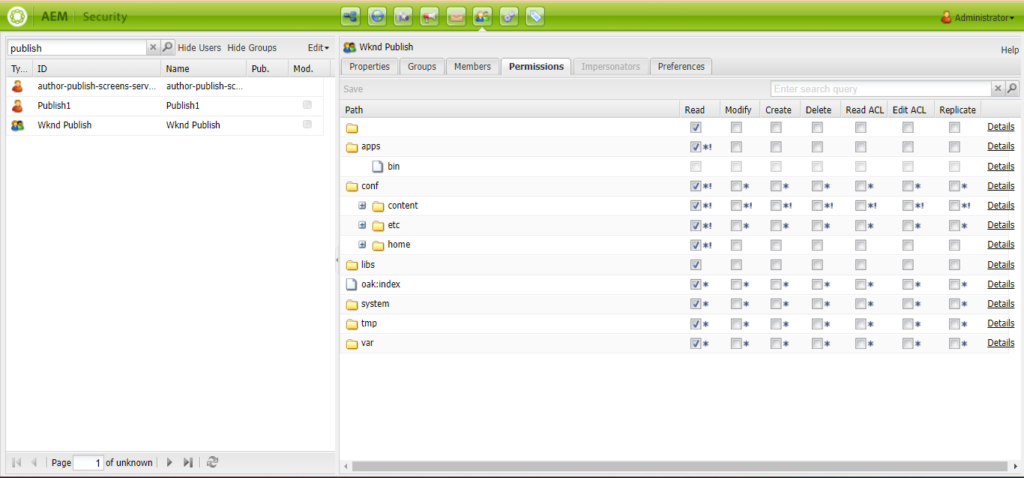
Set Permissions for the Group: After creating the group, you need to assign permissions to it. Select the group you just created and click on the “Permissions” tab. Here, you can define what the group can access and what actions they can perform. For Authors, you might allow creating and editing content but not publishing. For Reviewers, you would allow content review, commenting, and publishing permissions.
Step 2: Create Users
After setting up your groups (roles), the next step is to create user accounts.
- Navigate to the User Admin Console: Just like before, but this time select “Create User” instead of “Create Group”.
- Fill in User Details: Provide the necessary information for your user, such as Username, Password, and Email. Make sure to fill in the fields accurately for effective user management.
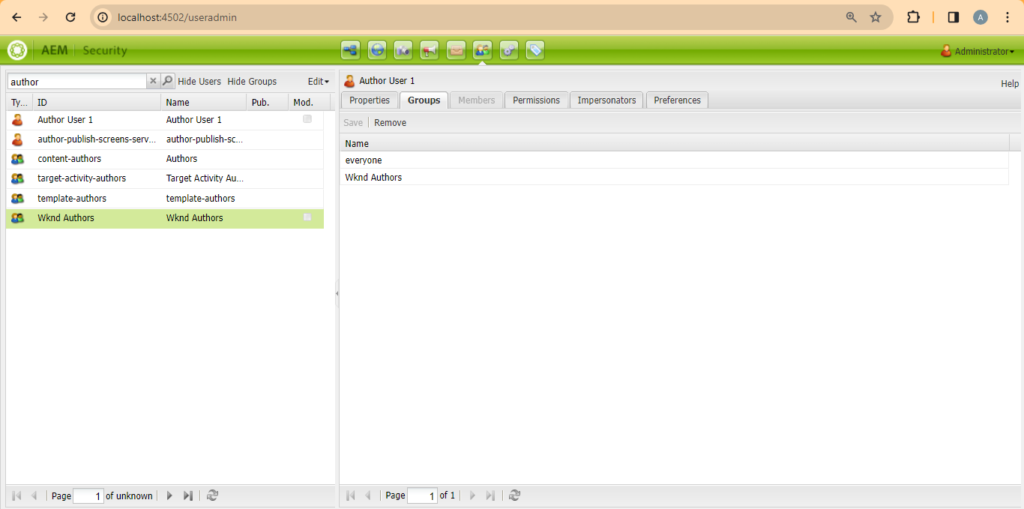
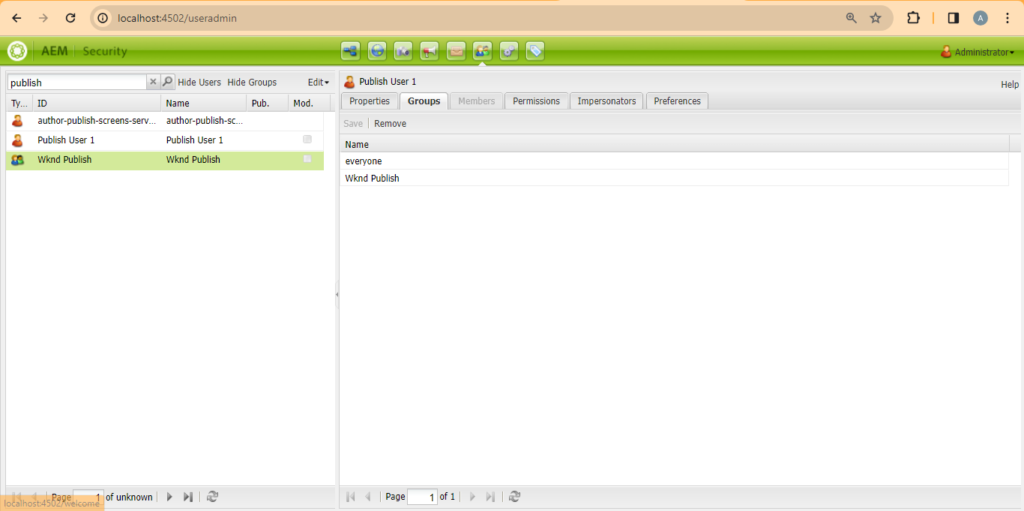
- Assign User to Groups: Once you’ve created a user, you need to assign them to one of the groups you created. While still in the user’s profile, look for the “Groups” tab or section. Here, you can add the user to either the Authors or Reviewers group by searching for the group name and adding it.
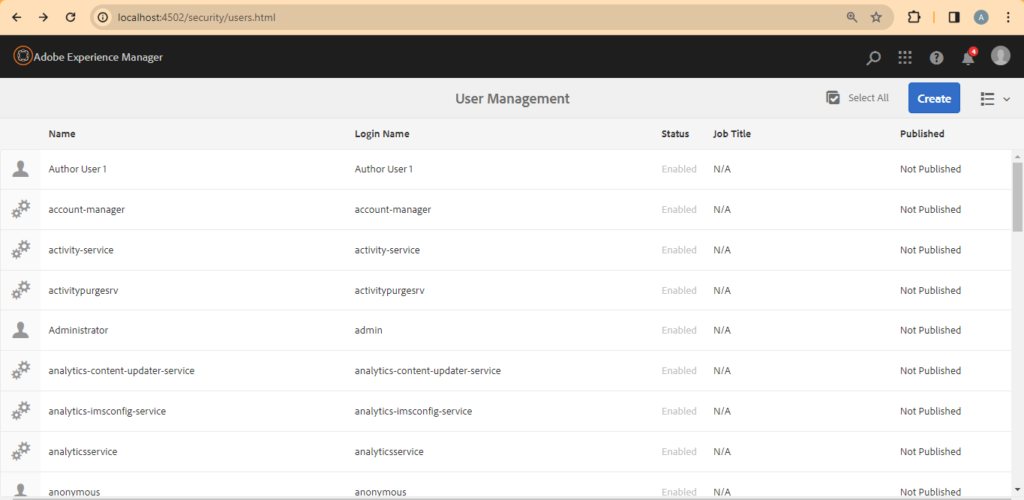
Drag and Drop the role for Wknd Author to the User
Step 3: Similarly Create Group and User for Publish
Login & Test
Login with the created user and confirm it is working.
